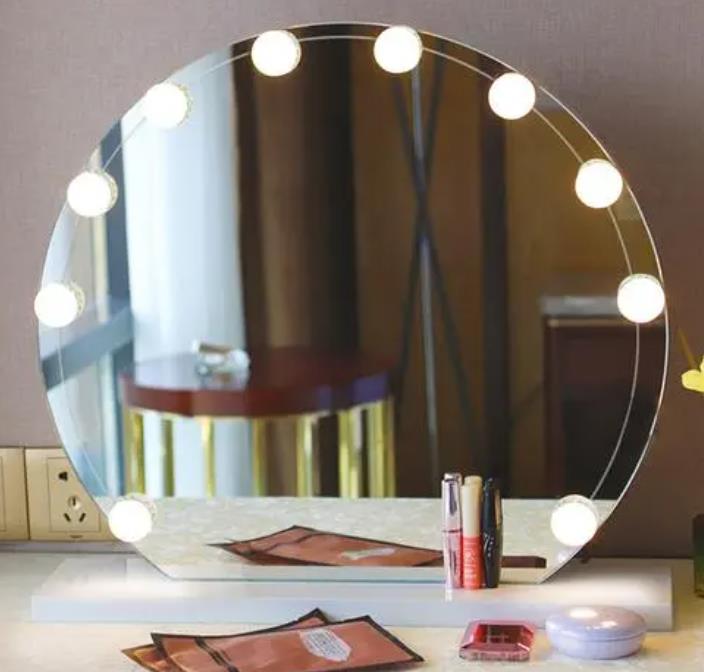
The assembly process of LED mirror bulb is as follows
2023-06-01 Views:
The assembly process of LED bulb is as follows:
1. Appearance inspection
Visually inspect the appearance of the lamp cup, lampshade, and lamp holder for scratches, burrs, cracks, deformations, etc. Take a set of samples for trial assembly to confirm whether the screw hole size and position of each accessory are suitable. Visually inspect whether the circuit board's circuit and component polarity are clearly marked, whether the copper foil is bulging, and use a multimeter to measure whether the circuit (aluminum substrate) has open circuit or short circuit. Check whether the LED emitting color and brightness, color temperature are consistent with the required, whether the LED surface has scratches, and whether the welding pins are bright. Apply load and power on to confirm whether the power supply value parameters are consistent with the actual ones. Check whether the three aluminum substrate fixing screws and the two brown/white power cords of about 6cm in length are suitable.
2. Apply thermal grease on the aluminum substrate
Apply thermal grease evenly on the center circle of the LED package marked on the aluminum substrate.
3. Welding LED
Take 3PCS LED lights and weld them according to the positive and negative poles and the "+/-" position marked on the aluminum substrate. Tin one of the polarities on the aluminum substrate, weld the LED with the same polarity end to the pre-welded soldering end, and then weld the other end of the LED to the other pin of the LED package on the aluminum substrate.

Note: The solder joint should be full, without false soldering, short circuit, and the LED welding position is correct. When welding, an anti-static ring must be worn.
4. Welding power input and output leads
Weld the lead-out wire of the lamp holder to the power input end, and weld the brown/white two power leads to the "+", "-" pole on the power output end.
5. Shrink the power supply with heat shrinkable tube
Use a φ20mm heat shrinkable tube to cover the power supply, and heat it with a heat gun to make it shrink. The length of the heat shrinkable tube must exceed the power supply length by about 1cm-2cm.
6. Fix the lamp holder
Put a small amount of 189 glue on the thread of the lamp cup, and tighten the lamp holder along the thread of the lamp cup that has been glued with 189.
7. Apply thermal grease on the lamp cup
Apply thermal grease evenly on the plane of the lamp cup.
8. Fix the lamp board and weld the power output leads
Stick the circuit board on the bottom plate of the fixed lamp cup, fix the aluminum substrate with 3 screws, and thread the power output leads out of the center hole of the circuit board.
9. Weld the soap source output line
Weld the power output lead to the solder joint on the circuit board according to the positive and negative polarity.
10. Install and fix the lampshade
Put a small amount of 189 glue on the thread of the lamp cup, and tighten the lampshade along the thread of the lamp cup that has been glued with 189.
11. Electrical inspection
Connect AC220V to light up the finished lamp. After lighting up, the brightness and color should be uniform and qualified. Otherwise, the LED lamp, power cord, and power supply should be inspected and repaired.
12. Punch the lamp holder
Use a lamp holder punching machine to punch the E27 lamp holder and fix the E27 lamp holder.
13. Full inspection
Check whether the combination of the lamp holder and lampshade is firm, whether there is any damage in appearance, and ensure that the surface of the finished product is clean and free of foreign objects.
Prev:Answers to Some Usage Questions about LED Vanity Mirrors
Next:Some things to consider when choosing LED vanity lights
-

Placement method of LED cosmetic mirror
Generally, LED cosmetic mirrors should be placed in the place with good light at home If you put it in a dark place, you can t clearly see your true self
-

LED cosmetic mirror manufacturers talk about whether the material behind is toxic
At present, many local households are equipped with led makeup mirrors, such as the wardrobe mirror in the room, the washroom mirror in the bathhouse
-

Methods to prevent fogging of vanity mirrors
The led vanity mirror is a necessary item in the bathhouse, but when the weather gets colder, it is more winter When you take a bath, you will find that the led vanity mirror is covered with water mist


